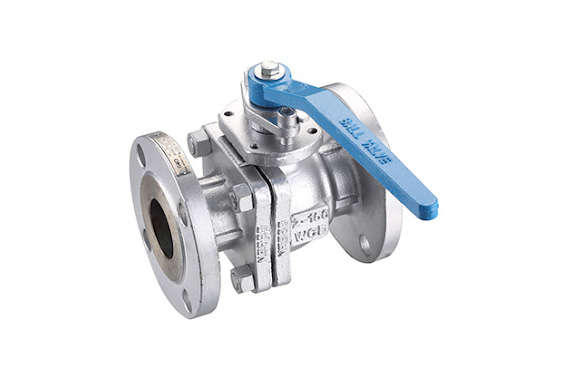
When your flush valve seal starts to wear out, it can cause all sorts of problems with your toilet. Luckily, replacing the seal is a relatively easy task that most people can do on their own.
In this blog post, we will walk you through the steps involved in replacing the seal on a flush valve. We will also provide some tips on how to choose the right seal for your needs. So, if you are experiencing any problems with your toilet’s flush valve, be sure to read on!
How To Replace Flush Valve Seal
Turn off the water supply
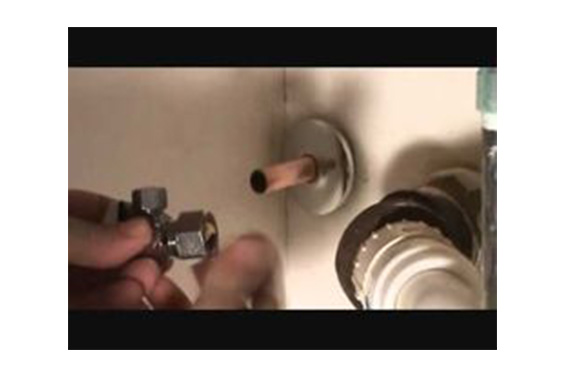
Find the shutoff valve for the toilet and turn it clockwise until it is closed. This will prevent any water from leaking out of the toilet tank during this process. If there is no shutoff valve, you can also do this by turning off the main water supply to your home or apartment.
Remove the old seal
The first step in replacing a flush valve seal is to remove the old one so that you have room for your new one. To do this, you’ll need a wrench and some pliers. First, use your pliers to grab onto the old flush valve seal and pull it out of its hole in the bottom of your toilet tank.
Then, use your wrench to unscrew and remove the nut that holds your flapper in place. Once both pieces are removed, set them aside so they don’t get lost while you’re working on replacing flush valve seal .
Measure your new flush valve seal
Before installing a new flush valve seal , make sure that it is long enough to fit into place properly and securely without falling into the bottom of your toilet tank when you put everything back together again later on. If not, then you may need to purchase an extender kit instead of just a replacement seal itself; these kits include an extra gasket and an additional length of chain so that they can be used with any size flapper or flushing mechanism in most toilets today.
Install new flush valve seal
Carefully insert your new flush valve into its hole at the bottom of your toilet tank where it should fit snugly but not tightly; if it seems loose at all when you put it in place then try using pliers or another tool to gently tighten up around its edges before moving forward with installation .
Next, reattach your flapper by screwing on a new nut over top of it before attaching either end of a chain or metal rod onto each side (depending on what kind of replacement parts you purchased). Finally, turn on the water supply again and test out how well everything works before putting away all tools and supplies for future use!
Can you replace a flush valve without removing the tank?
While it is possible to replace the valve without removing the tank, it is generally not recommended. The reason for this is that it can be difficult to properly align the new valve without being able to see inside the tank.
Additionally, there is a risk of damaging the tank if the new valve is not installed correctly. However, if you are experienced with plumbing and are confident in your ability to install the new valve, then you may be able to do so without removing the tank. Just be sure to turn off the water supply before beginning any work, and be prepared for a little extra mess.

