A saddle valve is an essential tool for repairing a plumbing leak. It can be installed in minutes, without the need for any special tools or skills. If you’re like most homeowners, you probably don’t know how to install a saddle valve. That’s okay!
In this blog post, we’ll show you how to install a saddle valve using just a few common household items. We’ll also provide some tips on choosing the right saddle valve for your needs. So read on to learn more!
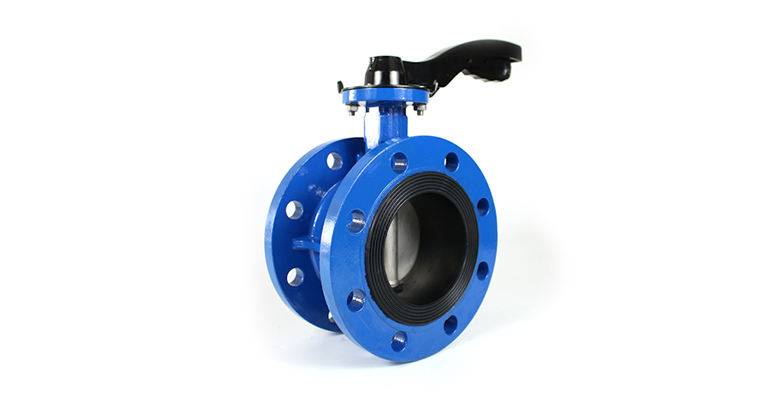
What is a saddle valve?
Saddle valve is a kind of plumbing device that allows you to control water flow in your home. It can be used for both hot and cold water lines and it is usually installed between the main line and an appliance or fixture. The saddle valve will allow you to control hot and cold water separately, which means that you can adjust temperature while taking a shower or washing dishes.
How To Install A Saddle Valve
Here are detailed directions on how to install a saddle valve:
- Turn off the water supply to the toilet. Flush the toilet, then loosen and remove the nuts that hold the water supply lines to the shut-off valves on either side of your toilet. Loosen but do not remove the nuts that hold the water line at each end of your toilet.
- Remove any debris from around the valve with a small brush or vacuum cleaner attachment. Use pliers to remove any old caulk from around the valve. Clean away excess grime with a toothbrush and a solution of one part bleach and nine parts water.
- Place a bucket underneath your shut-off valves and turn on each one in turn until you see clear water coming out of them; this will help prevent damage to your flooring if they leak while you work on them later.
- Unscrew and remove both shut-off valves by hand, using pliers if necessary. Take note of where they are located so you can reattach them later; it is helpful to label them as well so you don’t mix up their locations when installing new ones.
- Measure and cut pipes for saddle valves with a hacksaw or metal cutting tool, making sure not to cut too short or too long (you want two equal lengths). Thread both pipes through holes in saddle valves; tighten bolts with adjustable wrench or pliers until snug but still able to move slightly back and forth without feeling like they’re going to break off (this will allow you room for adjustment later).
- Place saddle valves in position against the wall, making sure they are level and pointing straight down into floor drain (if there is no floor drain, make sure they point directly down before proceeding).
- Apply pipe joint compound around threads of all new piping that connects saddle valves to existing plumbing (if applicable). Reattach shut-off valves using new pipe joint compound as glue between valve flange and wall; tighten with adjustable wrench or pliers until snug but still able to move slightly back and forth without feeling like they’re going to break off (this will allow you room for adjustment later).
- Turn on both shut-off valves again under the sink until clear water comes out; check for leaks around all joints after turning off the water supply again.
- If everything looks good, turn on the main water supply line again at the wall behind the toilet tank, then flush the toilet several times until clear water runs out from underneath it into the floor drain (or wait 24 hours).
- Turn off the main water supply line when finished testing; flush the toilet one last time just for good measure, then fill the bowl with water and check for leaks around all joints again. If everything is still dry, you’ve successfully installed a saddle valve!
If your toilet still leaks after installing a saddle valve, it’s possible that the flange underneath your toilet may be cracked or broken. You can fix this by removing the toilet and replacing the flange with a new one.