If you’re experiencing problems with your well pump, it may be caused by a faulty check valve. This is a simple repair that you can do yourself, if you know how to test the check valve. In this post, we’ll show you how to do just that. We’ll also provide some tips on how to troubleshoot other common issues with well pumps. Stay tuned!
How To Test Check Valve On Well Pump
- Turn off the power to the pump.
- Remove the well cap and lower it down to a level where you can reach inside of it without having to climb up on a ladder or something like that.
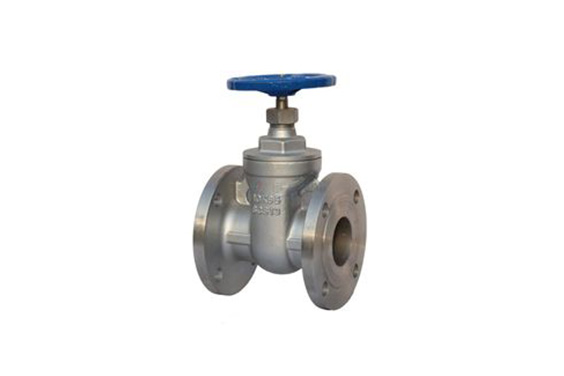
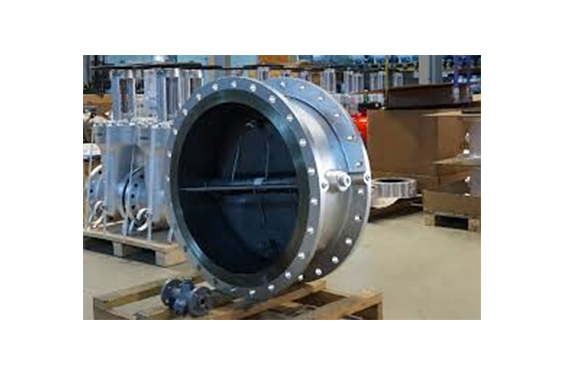
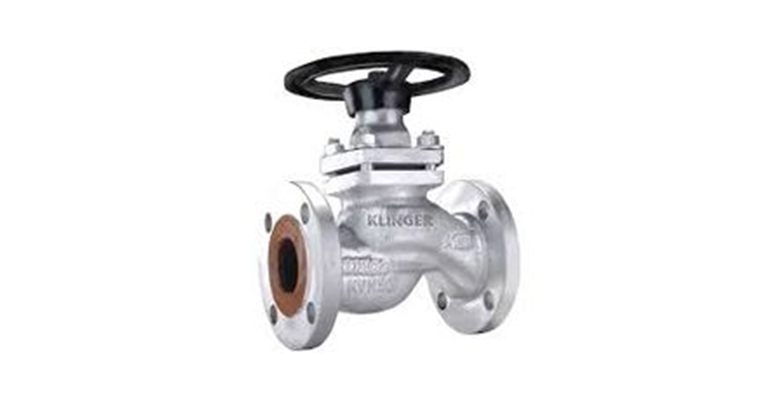
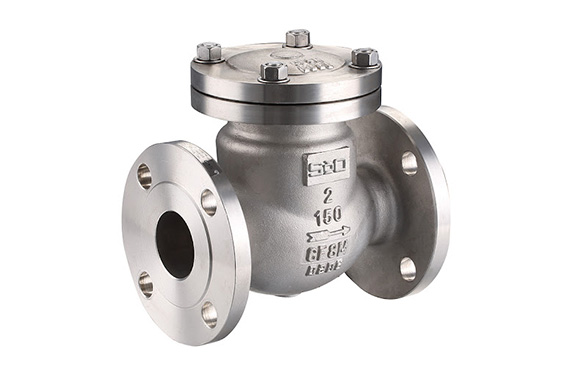
- You will see a black rubber check valve at the top of the well casing, usually near where it connects to the pressure tank or water storage tank.
- Use your fingers to turn the check valve handle in one direction, then reverse direction, back and forth several times to see if it moves freely. If you’re not sure about which way is forward and backward for this valve, just try both directions and see what happens when you turn it one way or another.
- If you are able to move this check valve with your fingers, then use pliers or channel locks (or other tool) to grab hold of it and pull out slightly from its seat (it should only go about 1/4 inch).
- Push back into its seat several times in each direction to make sure that it is seated tightly against its seat (this is especially important if you have been using your well for some time).
- Replace well cap securely after testing has been completed.
How do you know if the check valve is bad in a well?
One way to tell if your check valve is bad is by observing the water level in your well. If the water level drops significantly after you’ve used water from the well, it’s a sign that the check valve isn’t working properly.
Another way to tell if the check valve is bad is by listening for a banging noise coming from the well. This noise is caused by water rushing back into the well and can be an indication that the check valve is failing. If you notice either of these signs, it’s important to have the check valve repaired or replaced as soon as possible to prevent further damage to your well.
Can you test a check valve?
Testing a check valve is simple. First, close the inlet valve and open the outlet valve. Then, open the inlet valve and allow the system to fill with fluid. Once the system is full, close the inlet valve and open the outlet valve. The check valve should prevent any fluid from flowing back into the system. If it does not, then the check valve is defective and should be replaced.
How long do well check valves last?
When you have a well, you want to make sure that your water is clean and safe. One way to do this is to install a check valve. Check valves allow water to flow in one direction, but not the other. This prevents contaminated water from flowing back into your well. But how long do check valves last? The answer depends on a number of factors, including the type of valve and the quality of the materials used.
Generally speaking, however, most check valves will last for many years with proper maintenance. In fact, with proper care, your check valve could last for decades. So if you’re looking for a way to keep your well water safe and clean, a check valve is a great option.