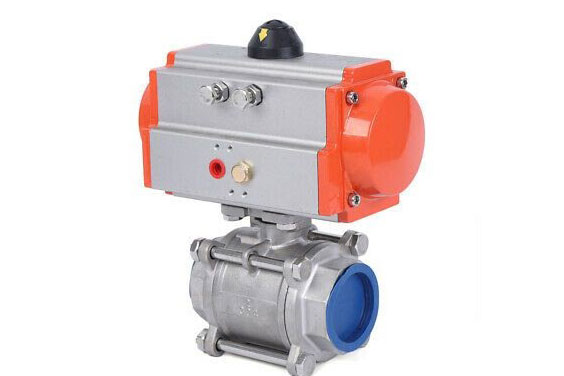
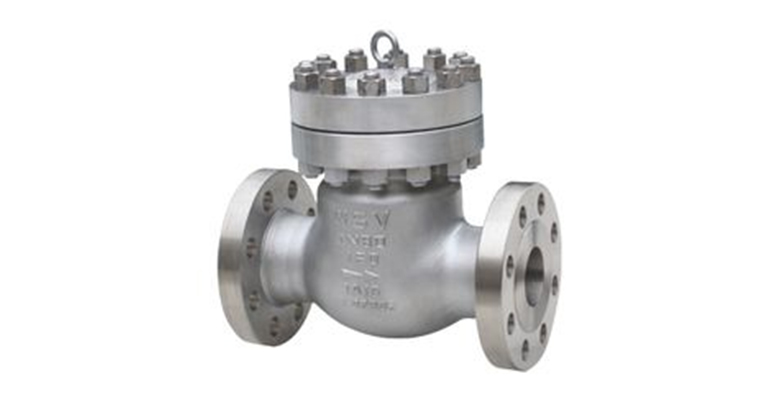
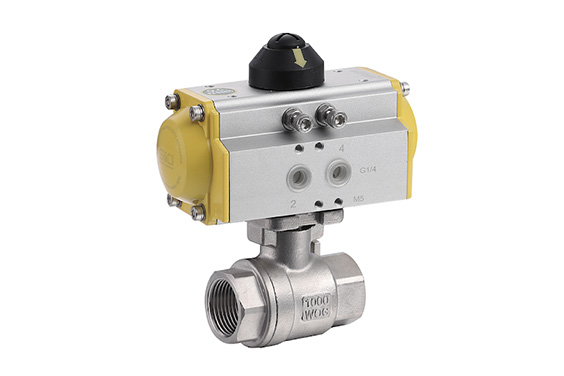
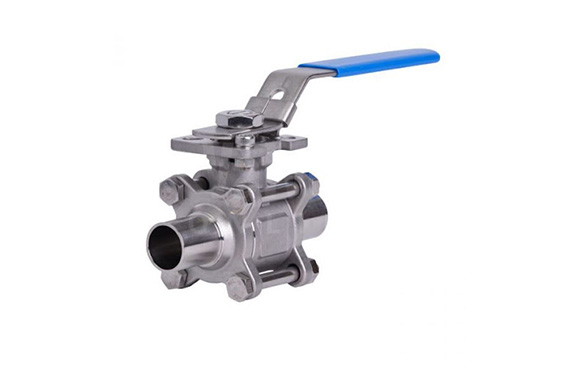
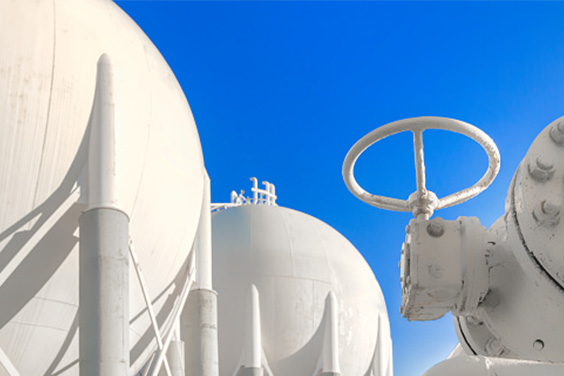
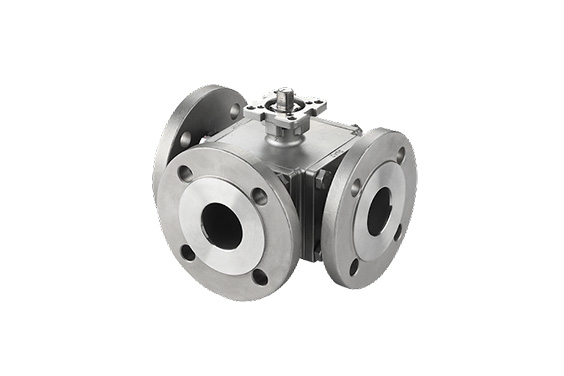
Ball valves are essential components of plumbing systems because they can quickly turn to stop the flow of water. With these quarter-turn valves, you can control a lever from the outside to turn off and on the water.
The inability of a leaking ball valve to function correctly might be a bothersome annoyance. Additionally, dealing with a ball valve leakage can be irritating and could even result in more serious problems. Fortunately, you can attempt a few fixes to solve the issue, though you could eventually require a replacement.
Carry Out Ball Valve Testing Procedure Beforehand
An established testing technique and the performance requirements that the valve is anticipated to achieve or exceed are prerequisites for successfully testing a valve. However, there is no one size that fits all when testing requirements in the ball valve testing procedure.
The seat leakage test is conducted in order to check for any leakage in the stainless steel ball valve. Hydrostatic pressure must be applied to the valve’s intake or outlet on one side, and the quantity of leakage must be measured on the other.
The quantity of leakage in the exit must be measured if the valve’s inlet is being compressed. Leakage up to a certain threshold is acceptable. The two sides must be examined and tested in the same way. Although depending on the type, valves may just have one seat or as many as four.
Main Types Of Ball Valve Leakage
There are two main types of ball valve leakage:
Fugitive Emission
The unintended and undesired release of gases or vapors from valves, pressure-containing equipment, or facilities is known as a fugitive emission.
Since these emissions were not considered and calculated during the construction of the machinery and its components by the stainless steel ball valve manufacturer, the word “fugitive” is used to describe them. These emissions are also unexpected, so standard monitoring and control tools cannot pick them up. These emissions can also be referred to as uncontrolled or unexpected emissions because standard control systems and facilities are unable to detect them.
Leaks Remaining In The Piping System
Leaks that continue to exist in the piping system could be dangerous to the system itself. Internal valve leaks can result in significant product losses, inadvertent transfer of process components, and, in some situations, significantly increased process risks.
Reasons That Ball Valve Leaking Internally And Solutions

Leakage Between Actuator And Valve
Score marks on the disc’s surface could mean that the disc was not initially fitted properly if you locate them. Ball valve leaking internally causes the seat layer’s lining to scrape as it closes, which causes leaks. The issue might have gotten worse due to repeated impacts on the leaking surface from solid objects that were launched into the air. Finally, this reduces the lifespan of the ball valve.
The ball valve seat liners should be replaced if the leakage level exceeds the predetermined limit and the seat has numerous faults. To achieve tight sealing, make sure the O-ring has a high pushing action.
Possible cause
Some ball valves that have been fitted are either over- or undersized, which may be the cause of the leak. Ensure the valves you install are the appropriate volume grade and size for the job. Any discrepancy during installation could alter the force rating capacity of the valve, leading to valve leakage.
How to fix
Clean the packing hole and replace the packing as necessary if there is a leak between the actuator and the ball valve. Apply lubrication to the actuator, clean, and replace the seats and stem if the valve is challenging to operate. Moreover, apply thread lock or Loctite as you tighten the nuts.
Leakage Between Valve Body And Bonnet
One of the most important parts for the ball valves are bonnets. The maintenance team may access the interior machinery and repair leaking ball valve parts by removing the hood. However, if there are changes in pressure, it can cause a leak between the bonnet and the valve body.
Possible cause
Changes in pressure and heat load may be the reason why there is a leak the bonnet cap and the body.
How to fix
After releasing any trapped fluid, secure the cap bonnet cap to the required torque. Unscrew the valve and look at the surface if the leak persists.
Shut-off Failure
One of the most important parts for the ball valves are bonnets. The maintenance team may access the interior machinery and repair leaking ball valve parts by removing the hood. However, if there are changes in pressure, it can cause a leak between the bonnet and the valve body.
Possible cause
Changes in pressure and heat load may be the reason why there is a leak the bonnet cap and the body.
How to fix
After releasing any trapped fluid, secure the cap bonnet cap to the required torque. Unscrew the valve and look at the surface if the leak persists.
Leaks When Closing
Shut-off ball valves are rarely utilized, therefore with time, the gasket inside the valve may harden or become covered in mineral deposits. The gasket might not always seat properly after closing and reopening the valve, leading to leaking around the valve seat screw.
Possible cause
Some ball valves that have been placed are either over- or undersized, which may be the cause of the leak. Make sure the valve you install has the appropriate volume rating and size for the job. Any discrepancy during setup can alter the valve’s capacity to withstand pressure, which can lead to valve leakage.
How to fix
To fix leaks when closing, follow the given steps:
- Cut off the main water supply going to the broken valve.
- Use a torque wrench to loosen the cap nut on the leaky shut-off valve.
- Remove the screw to uncover the valve’s twisted spindle.
- Put Teflon wrapping around the spindle and tighten the cap nut back into place.
- Don’t ever over-tighten the nut; instead, lock it with the tool.
- Open the pump valve again
- Carefully open the repaired shut-off valve to check that there is no longer any leakage.
Leaking From Seat Seal
What the valve regulates determines how much of an influence valve leaking has. Class III valves may require soft valve seats in order to operate with a maximum leakage tolerance of 0.1 percent under certain conditions.
Possible cause
When there are no liquids to lubricate the seal, it becomes dry and generates more heat through friction. As a result of the pressure, the seal will burn or melt and eventually shatter, allowing fluid to flow. A motor shaft seal might leak after just a few moments of dry operation due to heat splits or burns.
How to fix
- Disconnect the supply line from the shutdown valve with a wrench.
- The closet screws’ curved coverings must first be peeled off before the hex nuts can be separated with a tool.
- From the closet lip, remove the previous wax seal. It’s important to note that a piece of the flange has come off.
- Put a repair ball valve leak strap under the closet flange after removing the nuts holding it to the ground.
- Make sure the closet flange receives the new waxed seal.
- Connect the new water supply tubing to the bottom of the fill-valve stem
Leaking From Stem
With time, the stem valve may become brittle and break, increasing the likelihood that air may seep through. The damaged tire’s ability to retain air is lost as soon as the stem valve malfunctions. In both situations of the ball valve stem leak, the valve needs to be replaced.
Possible cause
A valve stem leak could function similarly to a crack by progressively allowing air to pass through the valve body’s bottom. Street chemicals and rust are the two most frequent causes of valve stem leakage, but there are other causes as well.
How to fix
To fix ball valve leakage from the stem, follow the given steps
- The tire needs to be removed and deflated after making sure the valve is defective.
- Wipe the valve stem with the valve core tool’s tapering edge, being careful to maintain the region free of debris.
- Set up the upgraded core.
Ball Valve Leakage Industry Standards
Ball valve testing and inspection requirements are covered by API Standard 598, Valve Inspection and Testing. It has standard leakage rates for testing both liquids and gases.
No apparent leaking is allowed during shell and back seat testing, according to API 598. If the substance is a liquid, there must be no observable drips or wetting of the surfaces. If the sample fluid is air or gas, the defined detection system must not identify any leaks. Visual proof of leaking through the disc, behind the seated rings, or through the shaft seals is not allowed for either the low-pressure closure check or the high-pressure closure check.
Before being shipped from the manufacturer, all valves constructed in accordance with the various API standards must satisfy the API-598 leakage requirements which are:
- Throughout the minimum stipulated test period, there must be no leakage. No observable leakage for the minimum stipulated test duration, or “0 drops,” in the case of liquid testing. In a gas test, 0 bubble denotes less than 1 bubble within the minimum allowed test time.
- For each nominal inch of pipe size, the maximum allowable leakage rate is 0.18 cubic inches (3 cubic centimeters) per minute.
- The highest allowed leakage rates are 1.5 standard cubic feet (0.042 cubic meters) of gas per hour per standard pipe size.
How To Repair A Leaking Ball Valve?
Follow the given steps to repair a leaking ball valve:
1. Stop The Water Supply
To guarantee that water does not interfere with the ball valve repair, turn off the water supply. After thoroughly closing the valve, empty any remaining water into a pail, then dry it.
It is necessary to take out the handle that binds the ball valve together. Use an Allen wrench or a screwdriver to unscrew the screws holding the valve together. Next, take the ball valve out.
2. Take The Ball Valve Apart
By taking the valve apart in its entirety, you can examine each part and identify the source of the issue. New parts for ball valves are offered by the majority of hardware and home improvement retailers. Make sure all parts and screws are maintained together to make reassembling the valve simple.
3. Replacing The Ball Valve's Worn-Out Components
Replace the ball valve’s worn-out component after finding it. Apply lubricant to the valve to make it simpler to replace the damaged components. After that, put the components together in reverse. Secure the components with the screw before turning on your plumbing system’s main line. Next, make sure the ball valve is not leaking. The ball valve replacement cost may be expensive for the time-being but it pay off in the long run.
Storage Condition For Ball Valve
If installed and maintained properly, ball valves of all types are simple to operate and have a long lifespan. The storage conditions for ball valves include:
- Do not open the valves unless they are prepared for installation in order to safeguard the seat and seals. You are shielding the valve from dirt and debris, which could potentially result in seat leaking, by doing this.
- If preserving for a prolonged period of time, keep in a cool, well-ventilated area. For cast steel ball valves with a black finish, additional oil application to the body may be necessary to prevent corrosion.
How To Do Ball Valve Maintenance?
Ball valves endure a lot of wear and tear throughout the course of their lifetime, sometimes even despite their robustness. If you are wondering, do ball valves leak, the majority of ball valves are created to be maintenance-free and are meant to be changed over time as opposed to being repaired.
Due to the likelihood of accelerated valve seal wear and tear in a high cycle or high-pressure applications, three-way ball valves are frequently a desirable choice in these situations. In these circumstances, taking the right precautions can dramatically increase the lifespan of the ball valves.
Consider including the following procedures in your ball valve maintenance:
Proper Installation
The first step in the ball valve maintenance procedure is proper installation of the valve. Correctly placed ball valves are far less likely to require maintenance or replacement. Ensure the person installing your valves is proficient in installing and maintaining ball valves.
Routine Cleanings
Since there is less danger of junk building up and adversely affecting the function of your piping system, clean valves stay longer. When cleaning the valve casing of debris, oil, or dust, use a towel. When cleaning the valve stem, use a wire brush. Make sure the cleaning solutions you employ won’t damage the valve materials.
Lubrication Of Valves
Your ball valves’ smooth operation and protection from abrasion are maintained by lubrication. When applied appropriately, lubrication also contributes to the valve seals’ increased effectiveness. Prevent any clay- or solid-based lubricants from accumulating inside the valve cavity by sticking to oil-based lubricants. Make sure the lubricant you select is suitable with both the system media and the valve materials.
Regular Examinations
Have a qualified inspector inspect your valves on a regular basis. Once a year is ideal for the majority of applications, but ball valves in increased pressure and high-cycle applications need to be inspected more frequently.
How To Replace Ball Valve
A ball valve is frequently used in pipe systems to control the flow of water, heat, or cold air, although water is the most frequent fluid. You might assume that you won’t need to replace them because they don’t have a lot of parts. There will be instances where you will need to swap out the older ball valves for newer ones. Therefore, let’s consider how to replace them.
Step 1: Purchase all the valve supplies needed
The 1st step is to purchase everything you’ll need in advance from reliable valve manufacturers. In order to purchase the pipe piece and a way of sealing it off, you will have to know what kind of pipes you have. You must use a plumber’s tape if your pipe is composed of copper. PVC can be secured in place with pipe cement. The pipe valve and spackle are additional items that you must purchase. Then you need to turn off the water supply to prevent water burst out.
Step 2: Access the pipes
If you want to replace your ball valve, you’ll need to gain access to the pipes. You may access them behind a sink if that is what it is. The pipes for the bathtub tap or shower must be installed either through the underground crawlspace or by cutting the wall to which they are fastened.
Step 3: Remove the old valve
The old ball valve that is housed in the pipe can be removed using the hacksaw after you have complete access to the pipes. The pipe can be cut on the sides rather than the right, except where the valve is located. Using the two cuts you’ve made, take out the old valve.
Step 4: Pipe Splicing
Splice the new pipe segment onto the portion of the pipe that you had previously cut, leaving enough space for the ball valve to fit. After that, insert the coupler with the spliced pipe end.
Step 5: Install a new pipe
The correct way to do this with your pipes is to secure the ball valve. Keep in mind that copper pipes require sweat joints, and if welding is not your strong suit, you can use plumbing cement. You can use the coupler you purchased to seal the pipe once it has been fixed in place.
Step 6: Test it out
Go ahead and open the taps and turn back the water on. Check the pipes for leakage. You can cut off the water and seal up the wall where the pipes are if it looks like there are no leaks. Retrace your steps if you discover a leak and make the necessary repairs. If you had to drill into the wall, replace the section you removed, then fill it in with spackle and paint. Simply shut the cabinets if it was beneath the sink.
How Can I Protect Against Damage Caused By Valve Leakage?
Even though valve leakage is inevitable, your project doesn’t have to suffer as a result. Here are three steps you may take to guard against harm from valve leaking.
1.Give details about the project’s leakage tolerance. The tolerance for leakage varies greatly from task to task. It’s not always required or ideal to have “zero leakage.”
2.Decide on the right valve size. One of the most frequent reasons for valve leakage, especially for control valves, is oversizing. Luckily, it is also the most avoidable with the right valve selection and sizing.
3.Conduct routine evaluations and inspections. Routine valve testing and inspection is the greatest technique to make sure that valve leakage doesn’t hurt a system or the environment excessively.
The Bottom Line
Leaking valves occur frequently in industrial settings. Even valves with claims of “zero leakage” or “bubble tight” may not be entirely leak-free. Use this guide as a way to inspect, avoid and fix ball valve leaks. If you need to repurchase ball valve, feel free to contact SIO.