If you’ve ever had a water shut-off valve leak, you know how annoying and costly it can be. Fortunately, there is an easy way to fix this problem. In this blog post, I will show you how to fix a leaky water shut-off valve using a few simple tools. So read on and learn how to take care of this common issue!
How To Fix Leaky Water Shut-off Valve
- The first thing you need to do is shut off the water supply. If your leaky valve is in the basement, turn off the main water supply before you start working on it.
- Use a wrench or pliers to remove the handle of your water shut-off valve. You will be able to see where they are located if you look at your pipes underneath your sink or bathtub.
- Remove the nuts that hold the handle in place by turning them counterclockwise with a wrench or pliers. Once this is done, pull out the handle and set it aside.
- Take a peek inside your shut-off valve and look for signs of corrosion on its interior parts like rust or corrosion buildup . If there’s any visible corrosion, then it’s time to replace the valve!
- Take a closer look at how your valve works by removing its top cap and unscrewing its inner mechanism from its housing unit with a wrench or pliers . This will allow you to better identify which part of your valve is causing it to leak .
- Gently scrape away any rust, corrosion buildup, or other debris on the interior parts of your shut-off valve using an old toothbrush . Make sure that all parts are clean before reassembling everything back together again!
- Reassemble all components back into their original places and make sure that they are securely fastened with nuts and bolts . Check all areas for leaks after reassembling everything back together again!
How do I stop a leaking valve dripping?
A dripping valve is not only annoying, but it can also waste a lot of water over time. If you have a leaking valve, there are a few simple things you can do to stop the drip.
First, check to see if the valve is loose. If it is, tighten it until the drip stops. If the valve is already tight, then you may need to replace the washer. To do this, turn off the water supply and remove the valve stem.
Once the washer is removed, take it to your local hardware store to find an exact match. Finally, reassemble the valve and turn on the water supply. With any luck, your dripping valve will be fixed!
Why is my water valve dripping?
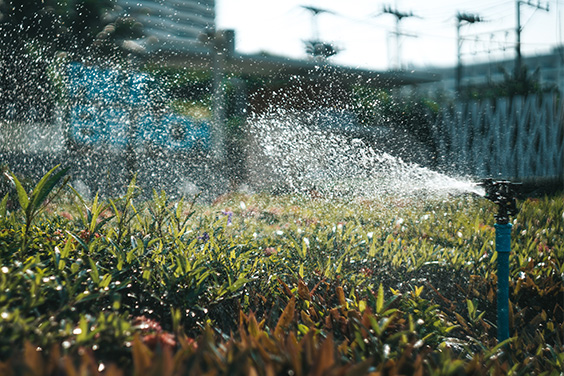
A single drip can waste up to 20 gallons of water per day, and that adds up quickly! More than 10 drips per minute is considered unacceptable by the EPA. If you have a dripping water valve, there are a few things you can check before calling a plumber.
First, see if the packing nut is loose. This is the nut that holds the packing material in place. If it’s loose, tighten it up with a wrench. If that doesn’t fix the problem, then you may need to replace the packing material itself.
Finally, if neither of those solutions work, then you will probably need to replace the entire valve. But don’t worry – a professional plumber can help you with that!