Installing a check valve is a great way to protect your plumbing from potential damage. A check valve helps keep the water flowing in one direction and prevents it from backing up into your home or business. In this blog post, we will show you how to install a check valve on your own. We will also provide you with some tips on how to choose the right check valve for your needs. So, whether you are a homeowner looking to protect your pipes or a business owner looking to safeguard your property, read on for all the info you need on installing a check valve!
How To Install A Check Valve
A check valve is a vital component of many plumbing systems, and it is important to know how to install one correctly.
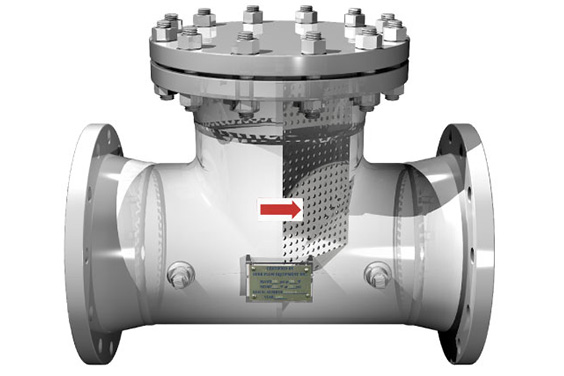
- The first step is to identify the direction of the water flow. The arrow on the side of the valve should point in the same direction as the water flow.
- Next, cut the pipe that will serve as the inlet for the check valve. The cut should be clean and straight, and it should be slightly larger than the diameter of the valve.
- Once the pipe is cut, slide the rubber gasket onto the pipe and then thread the check valve onto the pipe.
- Finally, tighten all of the connections with a wrench. With a little bit of care and attention, anyone can install a check valve.
Benefit of Check Valve In a Plumbing System
A check valve is a vital component of any plumbing system. Its primary purpose is to prevent water from flowing backwards through the pipes. This is important because it helps to keep contaminated water from entering the clean water supply. In addition, check valves help to protect against damage caused by flooding.
By preventing water from flowing backwards through the system, check valves help to ensure that only clean water flows through the pipes. As a result, they play an essential role in protecting both public health and private property.
Is it necessary to install a check valve?
Check valves are most commonly installed on sump pumps, sewage ejector pumps, and sewage grinder pumps. They can also be used on irrigation systems, fire sprinkler systems, and other types of piping systems.
While a check valve is not required by law, it is highly recommended by plumbers and other experts. This is because a check valve can save you a lot of money in the long run by preventing water damage to your home. In addition, a check valve can also help to prevent flooding in your home by allowing water to flow out of your house while preventing it from flowing back in.
Does a check valve go before or after a valve?
There are many different types of valves, including ball valves, gate valves, and butterfly valves. Each type of valve has its own unique function.
Check valves are typically installed before other types of valves in order to prevent backflow. Backflow is the term for when fluid flows back into a system after it has already been used. This can happen if the pressure in the system is too low or if there is a blockage downstream from the check valve.
If backflow does occur, it can damage the system or cause contaminated water to enter the system. Check valves are an important part of many different types of systems, and they must be installed correctly in order to work properly.
How far should a check valve be from a pump?
A lot of people think that a check valve should be installed as close to the pump as possible. However, this is not always the best location for the valve. In some cases, it may be better to install the valve a few feet away from the pump.
The reason for this is that the check valve prevents water from flowing back into the pump, and if the valve is too close to the pump, it can cause the pump to work harder than necessary.
Additionally, if the pump is located in an area where there is a lot of sediment in the water, it can build up on the check valve and make it more difficult for the water to flow through. As a result, it is important to consider all factors when deciding how far away from the pump to install a check valve.

