Butterfly valve leakage problems and how to handle them are among the most commonly asked questions by plant employees when it comes to employing butterfly valves. We are aware of how upsetting it may be to experience such a problem, especially if the product was just purchased and you had high expectations for its performance.
Leaks of even a few millimeters can cause significant losses. Be careful to choose one from a reputable industrial valve manufacturer as well.
If this is the case, don’t be alarmed; a number of butterfly valve problems may be easily resolved. Keep in mind that no two leakage problems are the same, though, and that some may require a complete valve replacement.
Professional businesses continuously improve the design and manufacturing processes for their high-performance butterfly valves. But certain problems continue to exist. Thus it is important to know about many techniques for fixing or replacing a leaky butterfly valve. For instance, if you find any issue with the handle, seat, or disc of the valve a simple butterfly valve handle replacement or seat replacement can resolve the issue in no time.
Take into account the following concerns before deciding how to fix a leaky butterfly valve. This will enable you to assess if fixing the leak is indeed necessary or whether doing so would result in excessive costs that are not justified.
Check Beforehand
Before determining how to repair a leaking butterfly valve, consider the following factors.
Does Leakage Tolerance Exceed
The permissible leakage limits for butterfly valves might vary depending on the application. While having no leaks may sound ideal from a technical perspective, many butterfly valves do have leaks over time.
This is particularly valid when using a gaseous medium, like helium. Gases in small quantities can easily escape but are still confined.
According to FCI 70-2, metal seated butterfly valves have permitted leakage rates (Class VI). The tightest sealing valves in the family, bubble-tight cutoff valves nonetheless permit a reasonable number of bubbles to pass through.
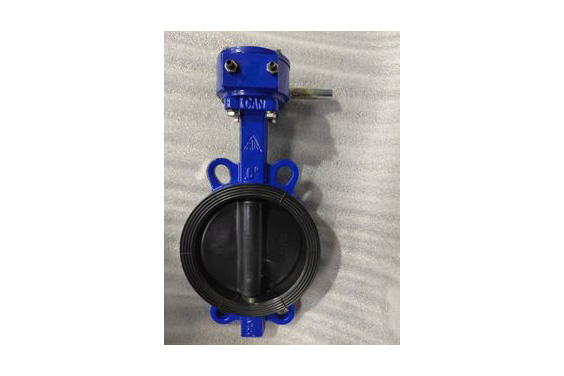
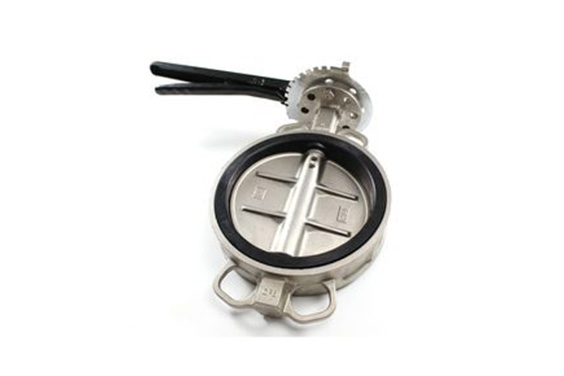
Using The Right Butterfly Valve Type
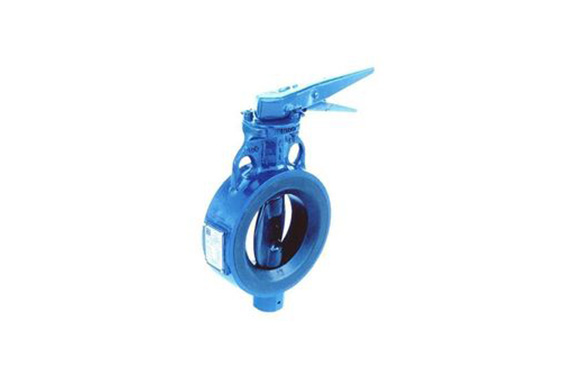
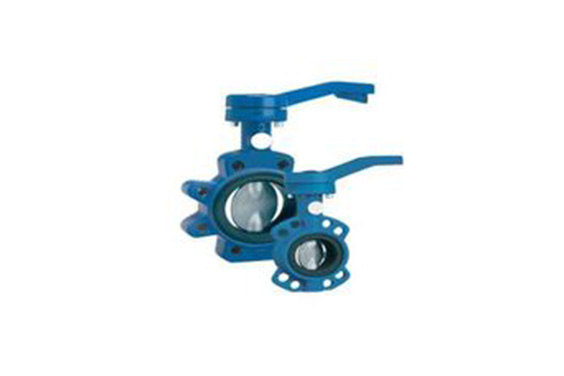
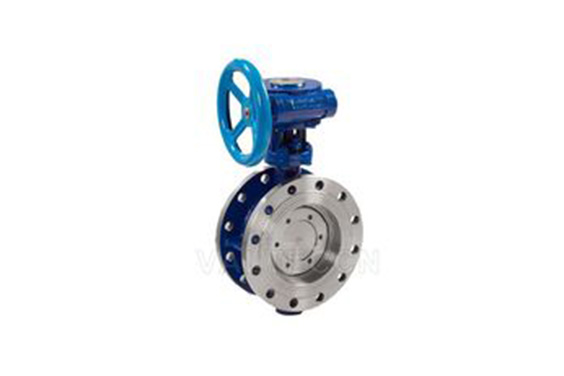
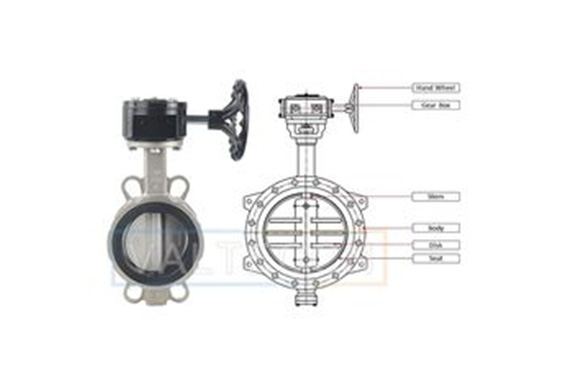
Butterfly valves from butterfly valve manufacturers come in a variety of shapes, including lug style, wafer, and double-flanged models. They also come in a variety of materials. Make certain that the type you are employing is appropriate for your application. While some valves are solely appropriate for gases, others are designed for silt and sand. Make sure to adhere to the manufacturer’s instructions on its intended use.
Operate Pressure Limit And Temperature

Some butterfly valves that have been placed are excessive or undersized, and they might be the source of leaks. Inspect the valve you install to make sure it has the appropriate size and pressure rating for the task. It should be noted that the valve’s capacity to withstand a given pressure is governed by the interaction of the rubber movement, the disc and seat assembly, and both. Any installation error might alter the valve’s pressure rating capacity and cause a leak in the valve.
Orientation Of The Butterfly Valve
Check to see if the valve is oriented properly. This information is included in the owner’s manual. If a butterfly valve is put in a horizontal pipe even though it is intended for a vertical pipe, there will be a significant stress on the butterfly valve’s y-axis. Incorrect alignment may result in leakage.
The failure to adhere to maintenance schedules and procedures is one of the most frequent causes of valve leakage, which result in significant system losses. Your plant has to perform routine valve testing. This is done in order to determine whether the leak is significant enough to harm your system. Additionally, the stem’s score and seat’s wear should be checked.
Are There Strainers Available

Prior to the medium passing through the butterfly valve, a strainer is often constructed. This removes big particles that might harm the valve’s internal parts. Make sure the strainers are kept in good condition.
Follow ANSI Standards Before Operation
A valve seat leakage standard known as API Standard 598 addresses leakage specifications for all types of valves, including butterfly valves with both metal and soft seats. Refer to the butterfly valve operation and maintenance manual to get clarity on different aspects of the valve.
Common Butterfly Valve Leakage Reasons And Solution
There can be a lot of issues in the butterfly valve maintenance procedure. Thus it is significant for you to know about the potential causes and solutions to the distinct problems in the valve. Preferably take help from the butterfly maintenance manual for a detailed description of the valve.
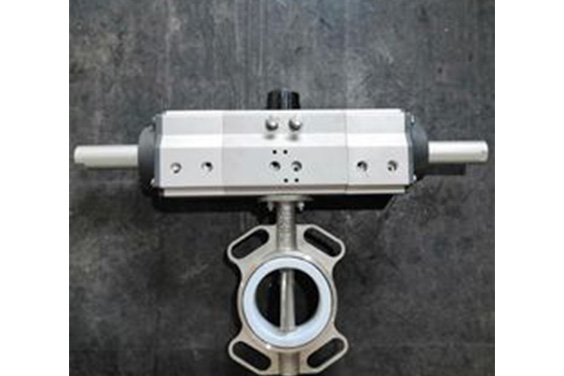
Leakage Between The Actuator And The Valve
Description
Score marks on the disc’s surface might mean that the disc was not initially fitted properly if you locate them. This causes the seat layer’s lining to scrape as it closes, which causes leaks. The issue could have become worse due to repeated impacts on the leaking surface from solid objects that were launched into the air. Finally, this reduces the lifespan of the butterfly valve.
The butterfly valve seat liners should be replaced if the leakage level exceeds the predetermined limit and the seat has numerous faults. To achieve tight sealing and for better butterfly leakage protection, make sure the seat (O-ring) has a high pushing action. Make sure the actuator end-stops are positioned correctly this time to avoid mismatch.
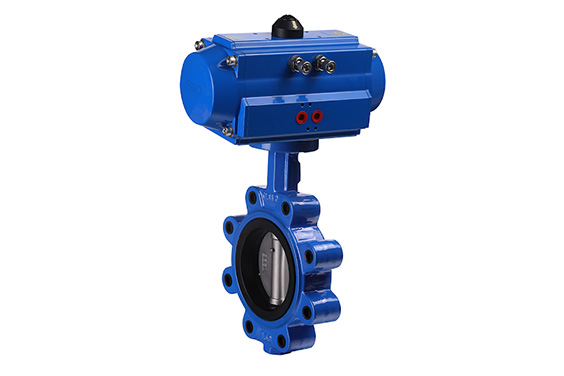
The pneumatic actuators are now small for confined mounting spaces and minimal air consumption. The gap-free design increases cleanability and complies with the highest requirements of hygiene.
Use on both usually closed and normally open valves is possible thanks to the maximum torque at both ends. The position of the disc is accurately controlled by metallic grips. Air-to-air and air-to-spring are the two varieties.
Possible cause
Some butterfly valves that have been placed are either over- or undersized, which may be the cause of the leak. Make sure the valves you install are the appropriate volume grade and size for the job. Any discrepancy during installation might alter the force rating capacity of the valve, leading to valve leakage.
How to fix
A minor actuator adjustment can level the disc and stop the leak if the damaged seat can be fixed.
- Remove the actuator
Start by cutting off all power to the electrical or pneumatic actuator. The bolt nuts and screws should then be loosened.
- Assemble the new seat
If you notice that the seat is damaged, replace it. First, replace the disc, then replace the seat. Remove the nut and its cap before inserting the disc into the available space. The seat should be carefully peeled off the spindle after being squeezed to free it from the cover.
Before fitting the replacement seat, clean the stem and seat. With the butterfly valve open, insert the stem into the seat slot. Next, wedge the disc onto the seat using the two flanges while it is still open. Replace the bushing after that. Verify visually that the correct closure torques are being used.
- Replace the Actuator and adjust it
Once the bolts are in place, mount the actuator and make sure the butterfly valve moves smoothly with the permitted resistance. Make that the right valve body, liner, and nut alignment are being utilized. The butterfly valve should then be tested to make sure it is operating correctly before connecting the power supply or pressurized air.
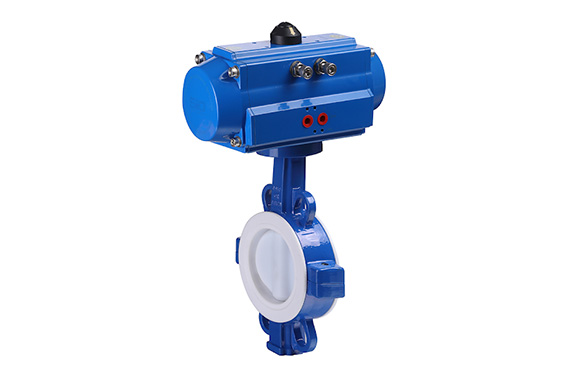
Leakage Between Valve Body And Bonnet
Description
Valve bodies and bonnets, being critical components of valve equipment, frequently leak as a result of incorrect disposal by valve makers after sales.
Possible cause
The iron casting quality is subpar, with flaws such as blisters, loose tissues, and squeezes on the valve body and bonnet body. The valve body has frozen and broken due to the low temperature. Poor welding, with flaws such as slag inclusion, non-welding, stress cracks, and so on;
How to fix
This type of butterfly valve repair can be done in just a few steps, as mentioned below
- Before installation, improve casting quality and perform a strength test in strict accordance with regulations.
- Heat preservation should be carried out for valves with air temperatures below 0°, and the valves that are not in use should be drained of any accumulated water.
- The valve body and bonnet’s welding seam must be completed in accordance with the applicable welding operation regulations, and after welding, a flaw detection and strength test must be performed.
- Cast iron and non-metallic valves cannot be pounded with a hand hammer, nor can heavy objects be stacked on top of them. Large-diameter valves should be installed.
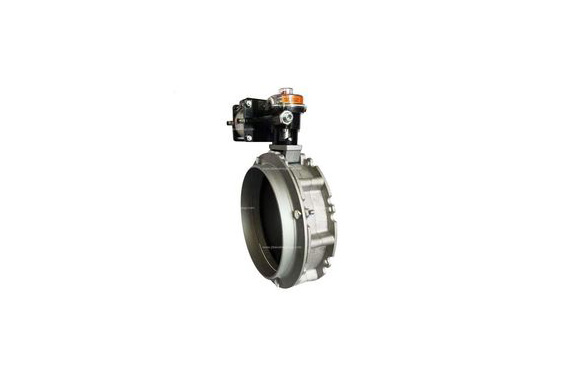
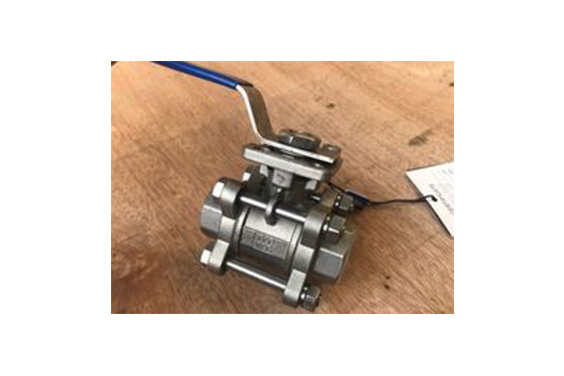
The Shut-Off Failure

Description
Shut-off valves, which are employed in many different contexts, provide the secure usage of compressed gas in pneumatic systems. For example, a shut-off valve put over a dead leg flow allows any water to flow out at that location so repairs may be made.
Potential cause
The main culprit for shut-off valve malfunctions (seizing) is the deterioration of internal components like rubber gaskets. A shut-off valve is required for many plumbing components and home appliances so that you may quickly and effectively turn the water off in the event of a plumbing problem.
How to repair
Toilet and even basin plumbing line shutdown valves can go for years without being turned off and on. Neoprene gaskets might lose their capacity to stop leaks when they stiffen up or become covered with mineral deposits due to inactivity. If you know what to do, fixing the valve is frequently rather straightforward.
- If necessary, adjust the packing nut.
- Turn the sealing nut on the sewage shutdown valve one-eighth of a turn clockwise to block a leak around the screw.
- To secure the forceps’ jaws and the nut’s finish, tie some linen or adhesive tape over them. Use gentle, continuous pressure to prevent damaging the water mains.
- Remove the shutoff valve in step two.
- Keep the supply and toilet routes in place while removing the shutoff valve. Washers should be cleaned with a wipe. To make the neoprene flexible once again, try stretching it.
- By not applying pipe oil or plastic wrap to the screws on the valve stem, you may prevent clogging inside the cutoff valve.
- Close off the main water supply before removing the toilet cutoff valve
- Plumbing supply stores and bigger hardware chains that retain a wide inventory of repair supplies can be found with new screws for the cutoff valve that is the right size.
- If this does not stop the leak, the complete valve will need to be changed.
Leaks When Closing
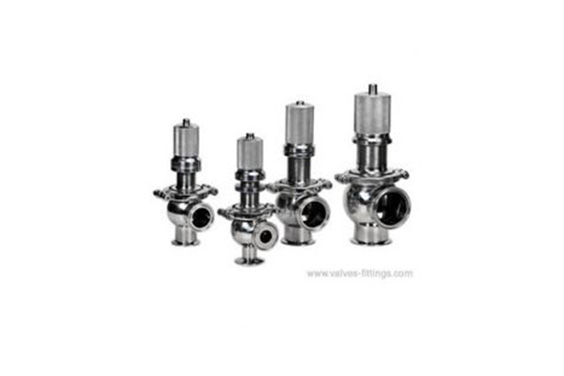
Description
Cut-off (shut-off) valves are rarely utilized, therefore with time, the gasket inside the valve may harden or get covered in mineral deposits. The gasket on the valve stem might not always seat properly after closing and reopening the valve, leading to leaking around the valve seat screw.
Potential cause
Some butterfly valves that have been placed are either over- or undersized, which may be the cause of the leak. Make sure the valve you install has the appropriate volume rating and size for the job. Any discrepancy during setup can alter the valve’s capacity to withstand pressure, which can lead to valve leakage.
How to repair
- Turn off the principal water supply to the malfunctioning valve.
- Use a torque wrench to unscrew the cap nut on the leaky shut-off valve.
- Remove the screw to reveal the valve’s twisted spindle.
- Put Teflon wrapping around the spindle and hand-tighten the cap nut back into place.
- Don’t ever over-tighten the nut; instead, lock it with the tool.
- The pump water valve was reopened.
- Now, gently open the repaired shut-off valve to check that there is no longer any leakage.
Leaking From The Seat Seal
Description
Valve leakage is the term used to describe the flow of fluid through a valve that is in the “off” state. What the valve regulates determines how much of an influence valve leaking has. Class III valves may require soft valve seats or split metal surfaces in order to operate with a maximum leakage tolerance of 0.1 percent under certain conditions.
Potential cause
When there are no liquids to lubricate the seal, it becomes dry and generates more heat through friction. As a result of the pressure, the seal will burn or melt and eventually shatter, allowing fluid to flow. A motor shaft seal might leak after just a few seconds of dry operation due to heat splits or burns.
How to repair
- Remove the supply line from the shutdown valve with a wrench.
- Verify the toilet is empty and that the valve is closed.
- The closet screws’ curved coverings must first be peeled off before the hex nuts can be separated with a tool.
- Place the toilet on an old sheet or cardboard sheet by pulling it up by the seat, not just the tank.
- From the closet lip, remove the previous wax seal. It’s important to note that a piece of the flange has broken off.
- Put a repair strap under the closet flange after removing the bolts and holding it to the ground.
- Make sure the closet flange receives the new waxed seal. Note that both closet nuts are in their proper places.
- To the base of the fill-valve stem linked to the sewage tank, attach the new water supply tubing.
Leaking From Stem
Description
With time, the stem valve may become brittle and break, increasing the likelihood that air may leak through. The damaged tire’s ability to retain air is lost as soon as the stem valve malfunctions. In both situations, the valve has to be replaced.
Potential cause
A valve stem leak might function similarly to a crack by progressively allowing air to escape through the valve body’s bottom. Road chemicals and rust are the two most frequent causes of valve stem leakage, but there are other causes as well.
How to repair
- Verify if the valve stem is leaking or not.
Of course, you need to check to see whether your valve stem is dripping. You may accomplish this by using your fingers to wipe a solution of water and dish soap over the open valve stem. If bubbles start to appear, the valve is letting air out.
- Maintain the necessary tools.
For this repair operation, you will require a few items. You will need a replacement valve core and a valve stem tool, both of which are reasonably priced. Any nearby auto supply shop should have these supplies available without any difficulty.
- Take the tire off
The tire has to be removed and deflated after making sure the valve is defective. While it is possible to do these simple repairs while the tire is still fastened to the vehicle, doing so is not recommended because it will be simpler and safer to detach it. Use the valve stem tool to remove the valve and install the new stem once the tire has been removed and inflated.
When removing the old core, keep in mind that you must completely empty the tire since any air within might cause the core to explode, potentially injuring any part of your body. Wearing protective glasses is a smart idea as well.
- You should clean the valve stem
Wipe the valve stem using the valve core tool’s tapering edge, being careful to maintain the region free of debris. Use the valve core tool’s tapping end to polish the inside screws of the valve stem if the main core screws are rusty. Additionally, utilize a valve stem cover going forward to prevent dirt out, which might be the root of the problem.
- Clear the area surrounding the valve and within the tire of any impediments.
- Set up the upgraded core.
- Use a valve stem device to accomplish this step. Adding a new core:
- Use the same side of the tool to replace one as you did to remove it.
- Hand-adjust, but be careful not to overtighten or break it, which would allow the replacement valve to leak.
- After fitting, take off the valve cover and re-inflate your tire.
Storage Condition For Butterfly Valve
The dual plate check valves should be kept in a neat, dry indoor setting and kept on the floor. Protect the valve against high heat, humidity, dust, dampness, vibrations, deflections, sunlight, and ozone. Store the valve at a temperature of under 25°C, preferably below 15°C.
How To Do Butterfly Valve Maintenance?
High-performance butterfly valves, for example, need frequent repair and maintenance after operating in several settings for a long time. The three categories of butterfly valve operation and maintenance manual are minor repairs, moderate repairs, and significant repairs.
The precise analysis depends on the ecological aspects of the pipeline. Since various businesses require a variety of repair and maintenance techniques. For instance, the average temperature must be lower than 550°C and the pipeline pressure must be less than PN16MPa when repairing pipelines for petrochemical companies. There are particular maintenance requirements for different chemical and physical pipeline transit media.
Butterfly valve maintenance is necessary to prevent corrosion.
At the top of the valve is a lubricating oil fitting. When the valve opens, this could not be observed. Regularly apply oil to the steam of the valve until the excess grease is gone.
Any product or lubricant with a silicone basis from a butterfly valve supplier can be used to easily clean all valve areas. Additionally, if you don’t use the butter valve much, rotate or cycle it once a month.
How To Do The Butterfly Valve Repair?
A leaky control valve may have multiple causes, and there is no guarantee that one problem can be resolved by a general cure. Nevertheless, we list the most frequent issues along with a few fixes you may try in this article.
Clean the packing hole and replace the packing as necessary if there is a leak between the actuator and the butterfly valve. Apply lubrication to the actuator, clean, and replace the seat and stem if the valve is challenging to operate. Moreover, use thread lock or Loctite as you tighten the nuts.
Use an air hose to directly blast air into the pneumatic system to check for normal operation if the butterfly valve cannot open or close correctly and leakage results. If it’s OK, the control valve could be malfunctioning. Replacing the control valve The required airflow is 6 kg. It’s time to swap out the actuator. The problem should be resolved by resetting the air actuator’s end stop position.
Test the power supply, repair any burned or broken fuses, and reset the device if the automated valves still won’t open. Replace the existing motors, switches, or solenoid valve after checking the actuator’s signal peptide.
Use an air hose to directly blast air into the pneumatic system to check to determine whether it functions normally in the event that the butterfly valve cannot open or shut correctly and leakage results. The control valve might be malfunctioning if everything is fine. Alternate the control valve. It requires 6 kg of airflow. You should swap out the actuator. It should be fixed by resetting the air actuator’s end stop position.
Replace any burned or broken fuses and reset the device if the automated valves still won’t open after testing the power supply. Prior to replacing the current motors, switches, or solenoid valve, check the actuator’s signal peptide.
Make sure that the valve is firmly sealed, the actuator locks at load torque, the valve is opened or closed with force, and the torque is increased if there is still a leak in the seat seal. If the valve is still leaking, replace the seat seal.
To remedy the issue, further analytical research should be conducted if the leaking persists in a more serious scenario. Verify the replacement components’ quality before replacing the butterfly valve. Use only materials of the highest caliber.
The Bottom Line
You’re all set. This article is complete. This tutorial ought to have provided you with information on typical causes and fixes for butterfly valve leakages. Most importantly, we hope it offers you a basic understanding of how to maintain and repair butterfly valves.
For any queries regarding valves, contact SIO.